Illustration Glitch Art

Overview
I’ve always wanted to try my hand at glitch art by using random effects to create an unpredictable series of images. This tutorial highlights my process of creating bitmap textures in Photoshop, applying those textures to vector art in Illustrator, breaking things, assembling things, and hoping for the best!
Illustrator
1. Getting Started
I always begin with a sketch and this tutorial is no exception. So let’s consider Mount Rushmore, except cyborgs.
Starting in Illustrator, use the Pen Tool to outline/trace your sketch with defining lines. These lines will form the boundaries that will be used to fill each region with color. Make them straight or curved, it doesn’t matter as long as the lines touch/overlap a little to create closed areas.
This glitch art process will technically work with any vector illustration, but my favorite results happen when the artwork has strong outlines and hard geometric shapes (much like pop art or cubism).

Original sketch

Vector lines; be sure to connect open areas like the bottoms of their coats
Once the lines are set, use the Live Paint Bucket tool to fill all the regions.
After each figure is completely colored, additional defining lines and details are added. For a more in-depth look at creating this style of pop art and using the Live Paint Bucket, check out my other tutorial for Creating a Pop Art Portrait.

Basic colors added

Additional details and border added

There’s no need to get too precious with the details, and the figures can be somewhat unrefined. Nearly every shape will be the recipient of a texture/pattern to add complexity and interest.
Photoshop
2. Textures
This image from Unsplash is the perfect starting point for my Mount Rushmore textures. Head over to Photoshop to prep things.

Photo by Jonathan Larson on Unsplash
Begin by converting the image to grayscale with Image > Mode > Grayscale. To make things less cumbersome, I’ve also cropped the original image into several smaller pieces.
Adjust the levels for each piece to have maximum contrast. It’s important to have darker areas and plenty of bright white areas. Adjust the levels with Image > Adjustments > Levels (Ctrl+l or ⌘+l) until you have something like the following:

Cropped grayscale texture piece


Texture piece adjusted for maximum contrast
Once the contrast looks great, convert the textures to bitmaps using Image > Mode > Bitmap.
The bitmap Output can usually be 300dpi, but adjust up/down to decrease/increase the size of the bitmap in relation to the illustrator document – use some trial and error to find a comfortable resolution.
For the Halftone Screen, use whichever Frequency, Angle, and Shape suits you. The larger the frequency, the smaller the dots – again, just trial and error.


Save each texture as its own PSD. Don’t close the files yet though; it’s helpful to leave Photoshop open for the duration of the project in case you need to make small adjustments.
These PSD files will be placed into Illustrator as linked graphics, so any further changes you make in Photoshop will automatically update the graphics in Illustrator. Feel free to noodle with things until you’re satisfied.
Here are the six PSD textures created for Mount Rushmore:

Illustrator… Again
3. Masking
Head back to Illustrator and File > Place… the various PSD textures into your document. It doesn’t matter where, just arrange them out of the way of your illustration. You’ll want to be able to easily copy and paste them for the following steps.
Important note: if the textures seem too big or small, now is a great time to revisit Photoshop and undo/adjust the Bitmap and Halftone Screen settings. You should never resize the bitmaps in Illustrator to maintain quality and consistency.
Now begins the process of masking the various textures into each shape of the illustration. Thankfully there’s a simple process to make this quick and easy:
Select one of the texture images and copy it.
Select a shape on the illustration where you want to add the texture.
Change the Drawing Mode (Shift+D) of the shape to Draw Inside.
Paste the texture (Ctrl+v or ⌘+v). Illustrator will automatically place and mask the texture inside of the shape.
Use the Direct Select tool to move the texture around until you’re satisfied. Don’t forget to color the bitmaps if needed by picking a color from the swatch panel.
Double click anywhere to exit Draw Inside mode and repeat the process with another texture and shape until everything is detailed.
Use Draw Inside to paste textures into each shape

Fully textured with bitmaps colored and placed inside every shape
Finally, it’s important to apply a Transparency Mask to the entire illustration. This combination of clipping masks and transparency masks forces Illustrator to crop the textures without rasterizing and fractures the artwork into hundreds of pieces. The mask needn’t cover the entire illustration either; the bottom or corner is fine. The more mask you use, the harsher the effect and the more crap textures you'll need to adjust.


4. Destroy!
It’s now time to wreck things! A word of caution: this is more of an experimental process than prescribed steps; the goal is to flatten and crop textures (without rasterizing) and make as many movable pieces as possible. There’s a heavy emphasis on letting Illustrator make the decisions and randomize things. Regardless, sometimes the textures don’t flatten/crop, sometimes the expand is unpredictable, sometimes it’s all just hot garbage.
I had the best results with this sequence:
Select the illustration and expand it with Object > Expand Appearance.
Next flatten it with Object > Flatten Transparency (Preserve Alpha Transparency).
This may create a clipping mask shape around the object. Direct select a corner of the mask box and hit delete a couple times to remove it – briefly seen in the animation below.
Select the whole illustration again and Object > Clipping Mask > Release.
Do the same mask release again, for luck: Object > Clipping Mask > Release.
Ungroup the entire composition so each element can be manipulated easily. It’s important that nothing is grouped for the next step.
Select everything and Object > Transform > Transform Each.
Enable the Random option and change the settings for Move.
Feel free to experiment with Scale and Rotation as well. Let the randomness work its magic.
Once the shapes have been flattened, ungrouped, and randomly transformed, spend a little time manually removing junk that doesn’t work and shift elements around to achieve a more balanced composition. Here’s the whole process condensed into a few seconds:
The whole “Destroy!” process condensed
Keep in mind not everything needs to be processed so heavily. I find it helpful to save the original line work and drop it back on top of the destroyed graphic to cleanly define the figures.
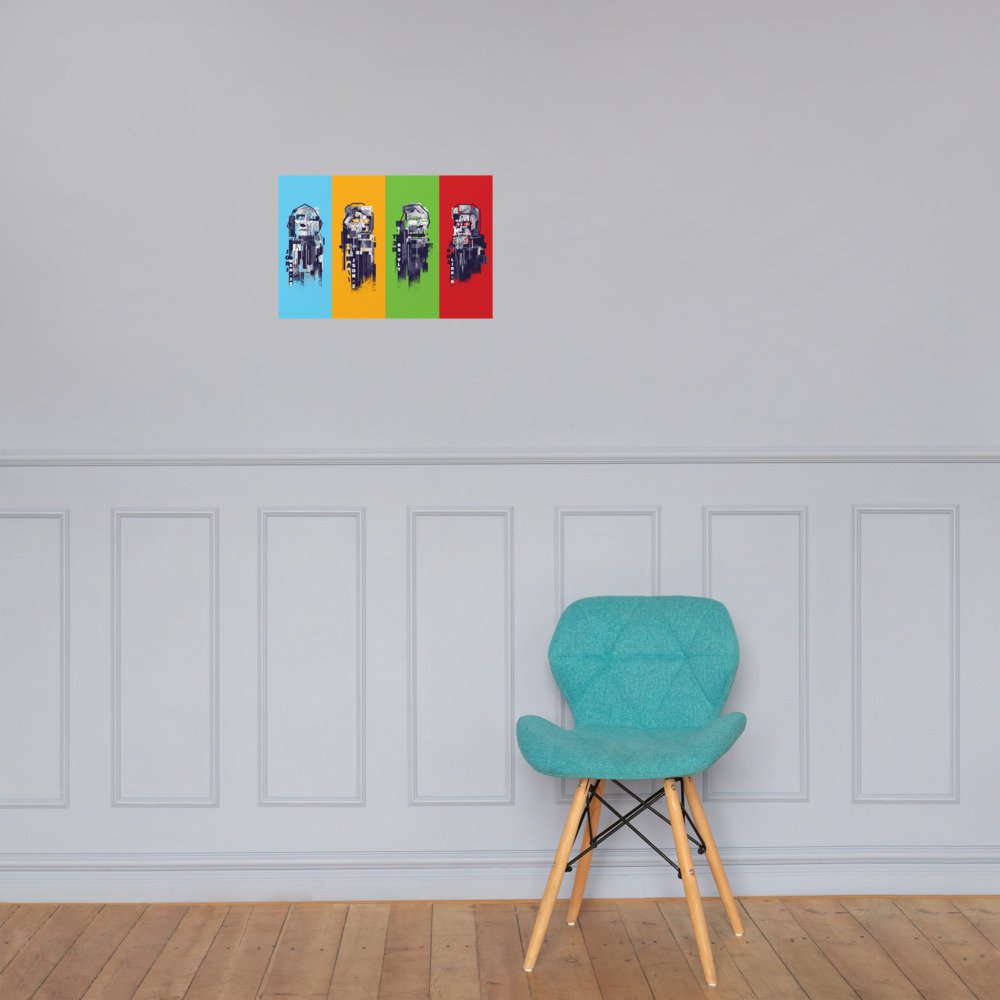
A few final touches were added to the eyes, color blocks and highlights, and a background was dropped in. Cyborg Lincoln is ready to emancipate!

Wrapping up
Sometimes happy accidents are the best kind, and I couldn’t be more pleased at how weird and wonderful this little glitch art experiment turned out! Thanks for reading.

George Washington

Thomas Jefferson

Teddy Roosevelt

Abraham Lincoln


• Paper thickness: 10.3 mil
• Paper weight: 5.57 oz/y² (189 g/m²)
• Giclée printing quality
• Opacity: 94%
• ISO brightness: 104%