
More Masking in Illustrator Using Draw Inside

Overview
An often overlooked way to mask in Illustrator is a drawing mode called Draw Inside. It’s a method to add textures, brush strokes, and other patterns directly into shapes without worrying about creating complicated masks. Think of it as the more artistic and powerful (yet confusing and sometimes infuriating) cousin to the other forms of masking in Illustrator.
Getting Started
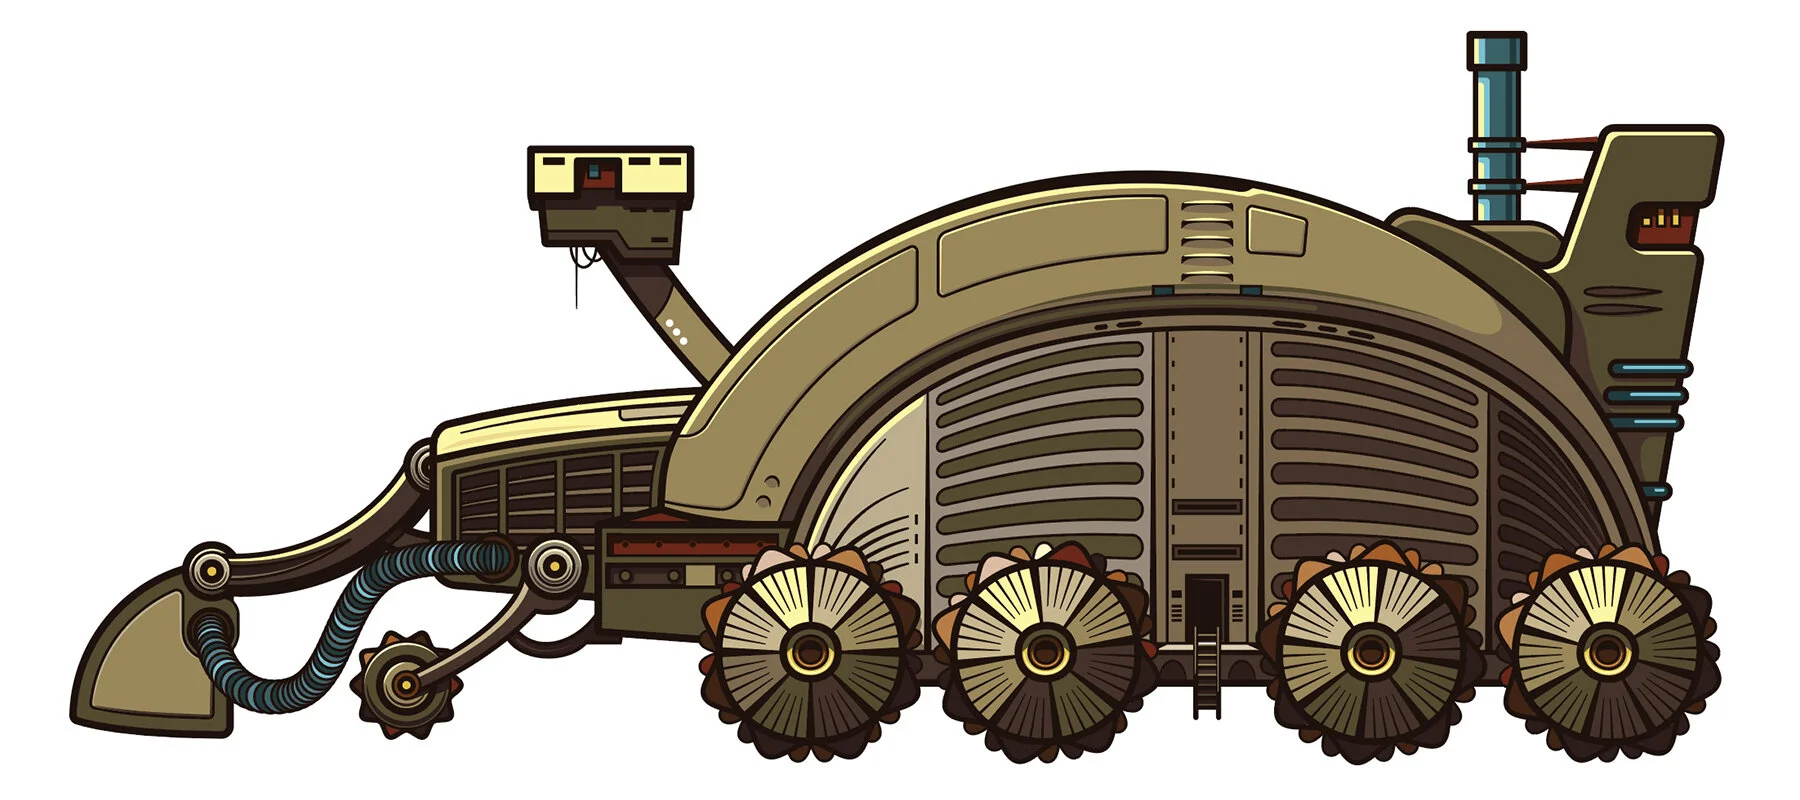
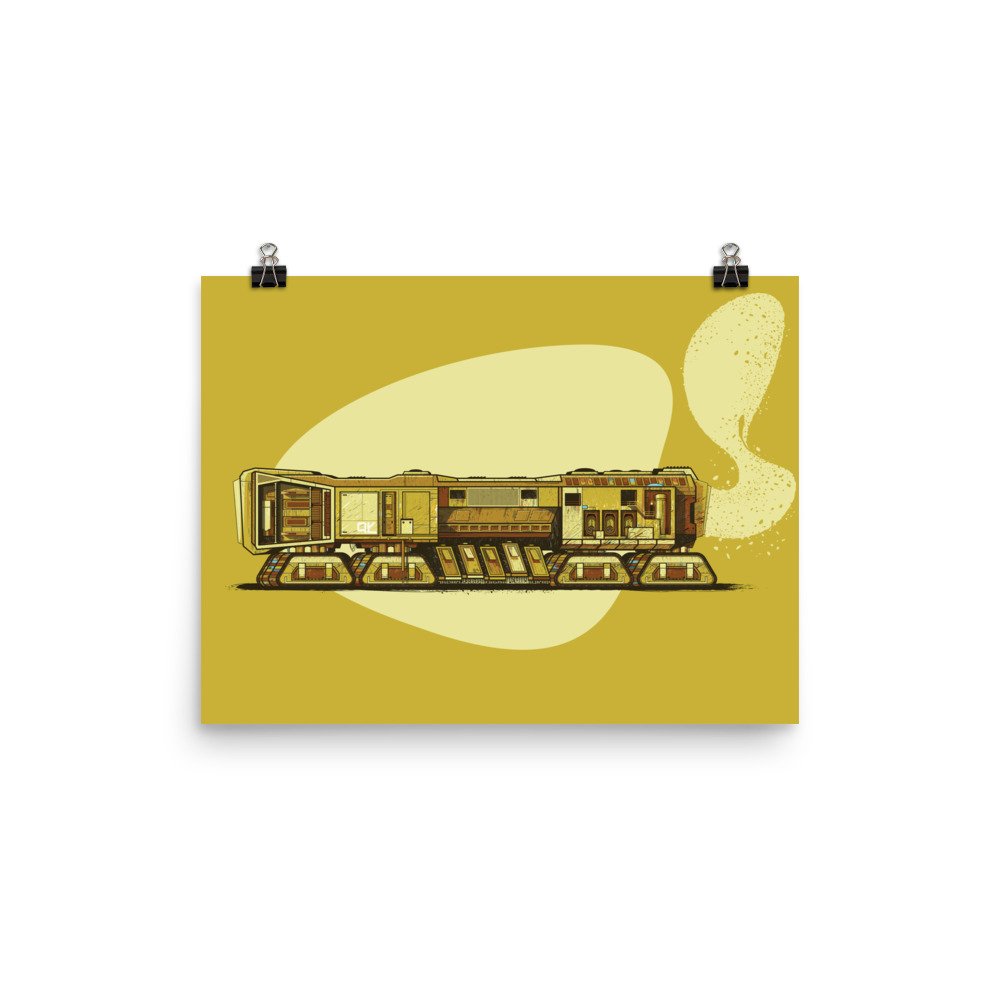
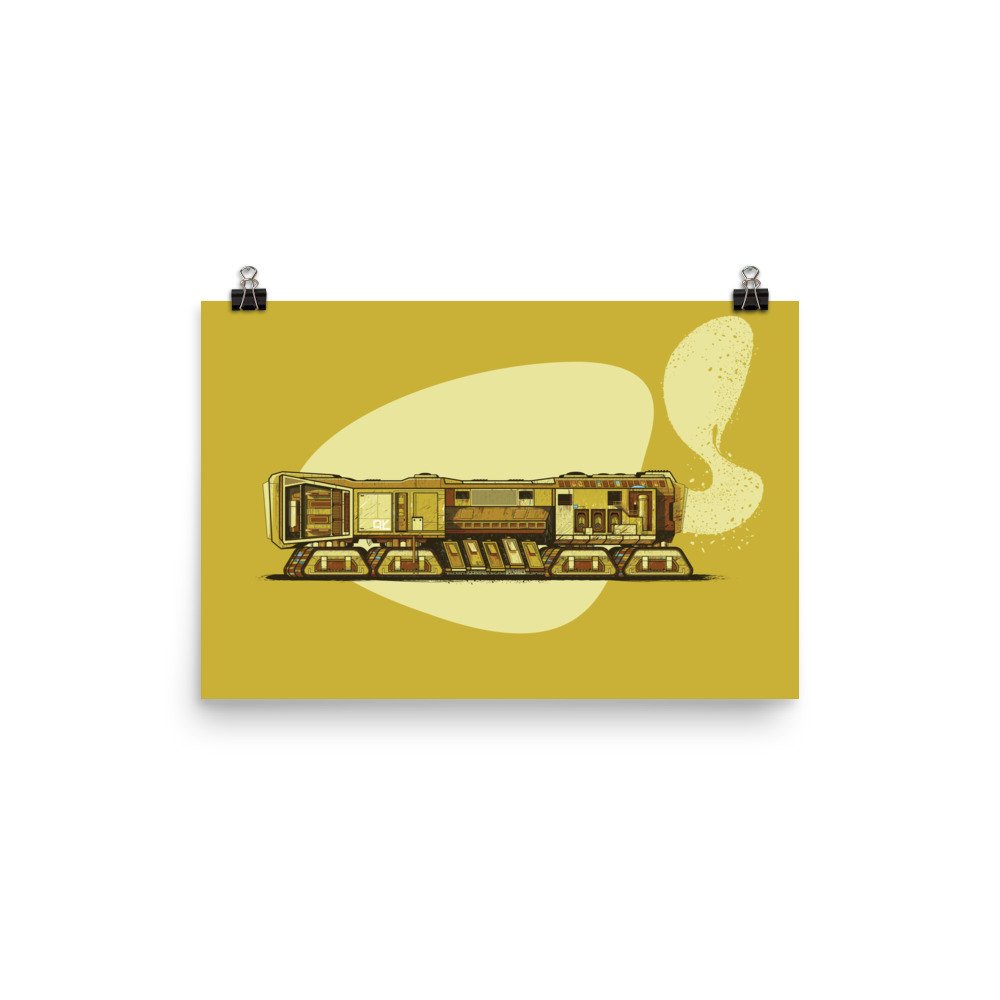
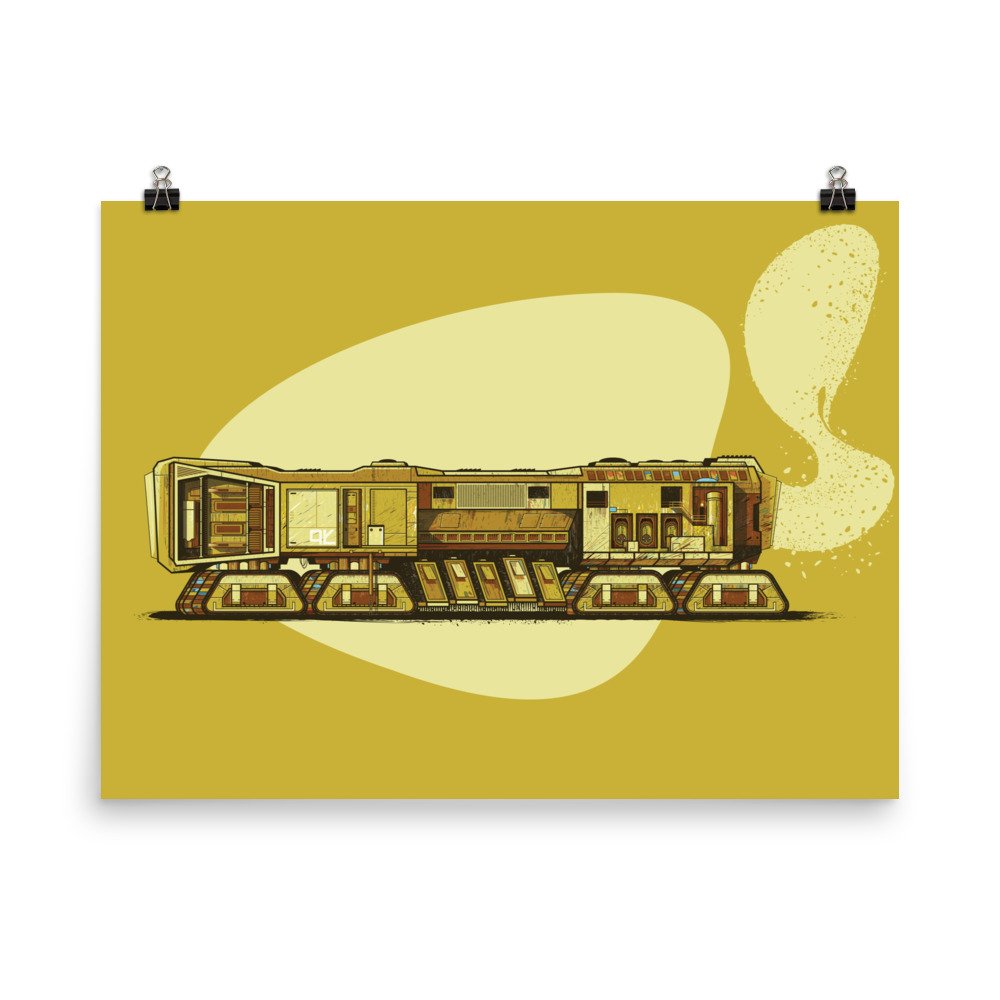
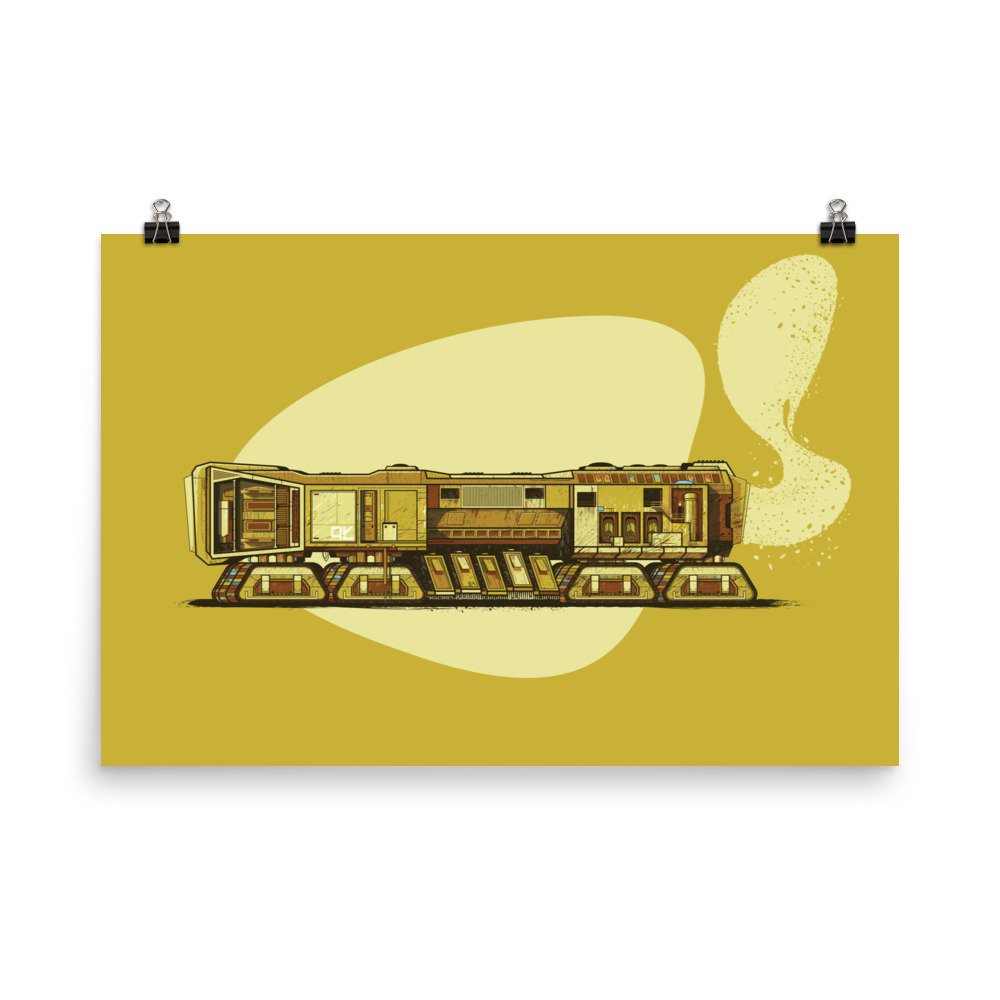
Let’s walk through texturing a spice harvester from Frank Herbert’s Dune, which is a great movie that follows the book pretty closely — and I won’t hear otherwise. This movie holds a special place in my heart ❤️.
Begin by creating all the basic shapes that will comprise your illustration. Try to avoid using gradients and other effects; keep everything flat and simple. The shapes that work best are basic in appearance, solid colored, and have no filters or effects (compound objects are perfect, but groups of objects will not work).
Here’s the harvester line work and the accompanying solid fills. Shape Builder was used to quickly add color to everything.

All the outlines have been converted to fills.
The shape builder makes short work of blocking in all these color areas.
Even small areas should get some love, as well as the outlines themselves. Everything that you might want to texture should become a solid filled color.
Once you’re happy with the illustration base colors, and life in general, expand the artwork and ungroup it all so every shape is a loose object and not contained in a group or a Live Paint container.
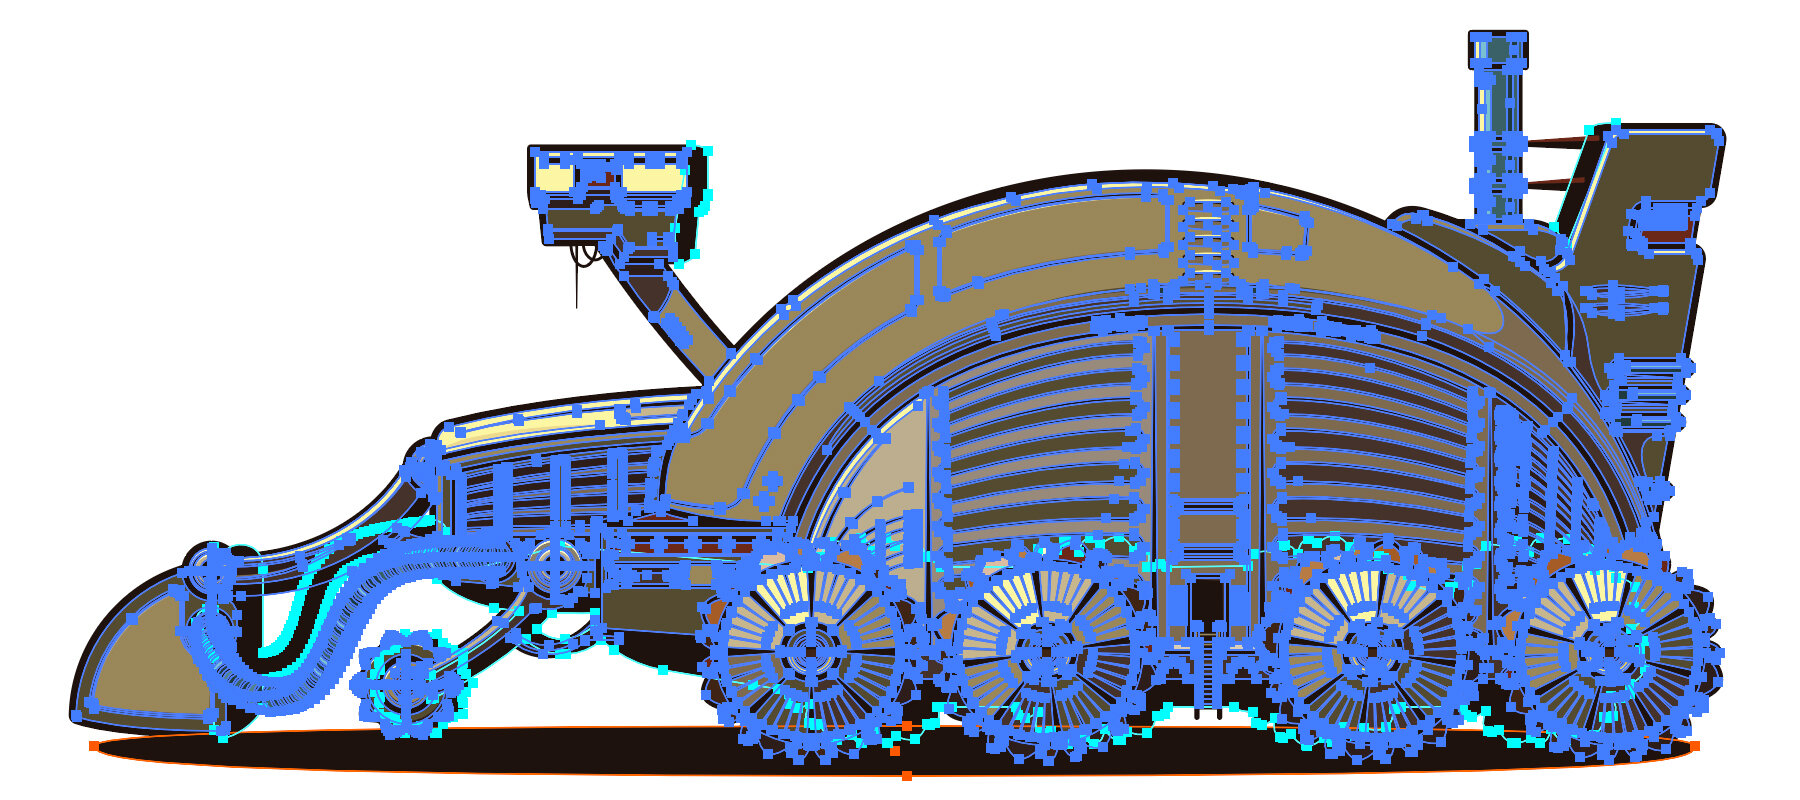

Compound paths are fine; it’ll let you add textures to larger areas with less work.

Draw Inside Mode
Select a shape in the illustration and change its Drawing Mode to Draw Inside (Shift+D will cycle through drawing modes). The drawing mode toggle is just below the fill and stroke in the toolbar and is one of the many ‘hidden in plain sight’ tools often missed by Illustrator users.
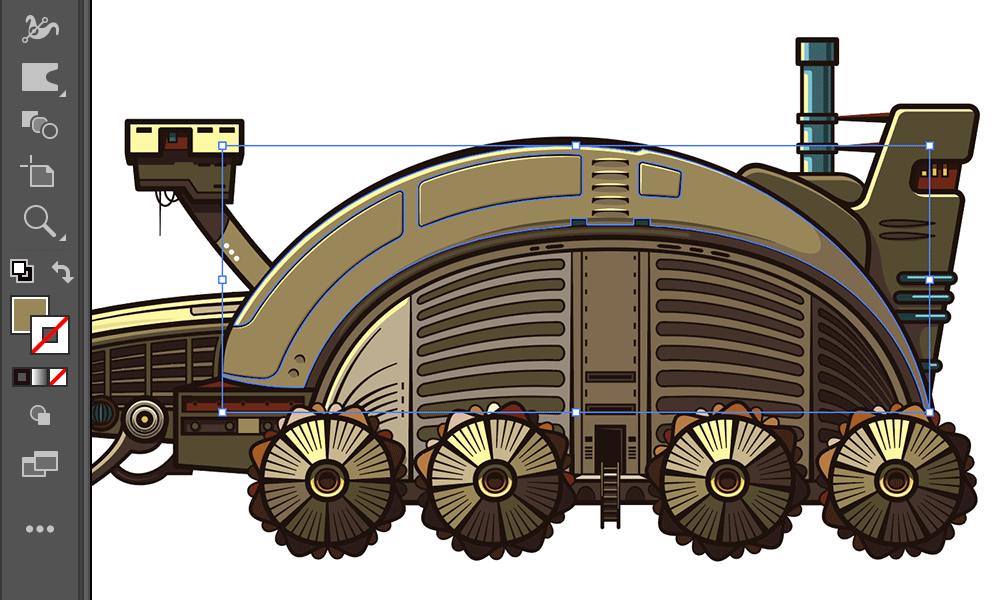
You’ll notice the selected shape now has a set of brackets around it. This is a visual indicator that the object is in the Draw Inside mode and any elements created will be automatically placed/cropped into the active shape.
Add Brushes, Gradients, And Textures
Once in Draw Inside mode, add textures, brush strokes, gradients, patterns, and other elements to the illustration. It’s best to try and keep things inside the viewable area so they don’t become lost or hidden outside of the mask. Objects that are fully outside of the shape are simply harder to select and adjust.
This spice harvester illustration uses some of my custom colorful rust brushes, but you could just as easily use simple calligraphy or other default brushes to add highlights and shadows.
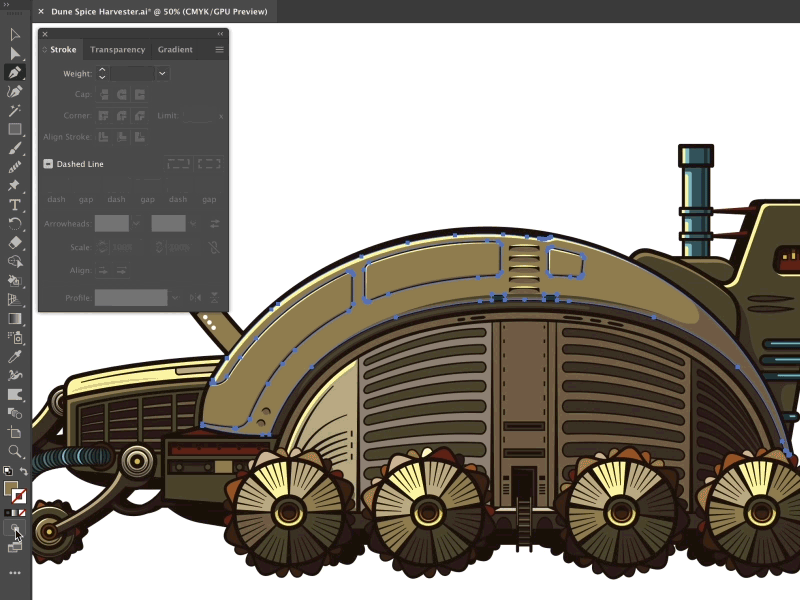
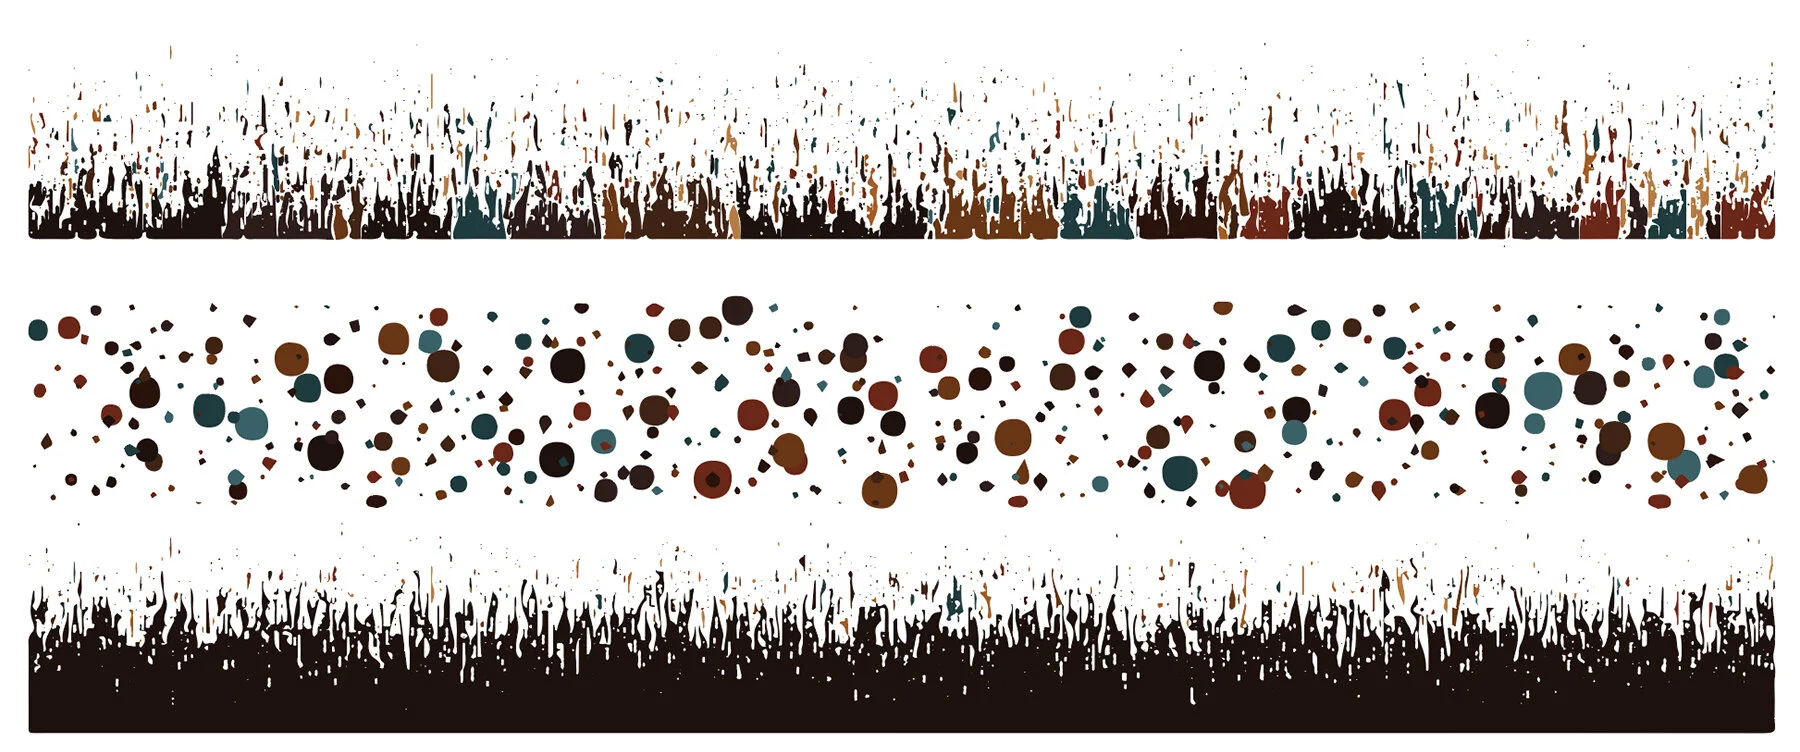

When everything is looking pretty great, double click anywhere to leave the drawing mode. Everything is now committed into the shape, and the shape itself has been changed into a Clip Group containing all the textures and brushes and such.

Once you exit Draw Inside mode you can’t return to it using the toolbar toggle any more. To continue editing the shape or contents, double click the shape (or its border) or any of its contents to isolate the clip group. You’ll be able to continue adding textures and lines as before when Draw Inside mode was active.
In addition to isolation mode for large edits and additions, the direct select tool and Outline view (Ctrl+Y or ⌘+Y) are really useful for simpler tasks; nudging lines, adjusting curves, etc.
To cover even larger areas that span multiple sections (like the flexible tube on the front of the spice harvester), copy all the shapes you need to a new layer and combine them into a compound path with no fill or stroke. Each segment of the colored tube has been combined into a single compound object this way and textured as one piece. In fact most of this illustration is done this way.


Additional Notes
Selecting objects: The Selection Tool (V) will always grab the entire Clip Group whether Draw Inside is active or not. You’ll be getting really friendly with the Direct Select (A) tool to move and adjust your work, as well as outline view to find hidden elements.
Layers: Layer ordering within a Clip Group will always obey the Clip Group container. If you find yourself unable to click an element within the group because something else keeps stealing your click, try changing the stacking order of shapes within the Clip Group (Ctrl+[ or ⌘+[).
Fills & strokes: The Draw Inside object can have a clear fill and stroke, but it becomes touchy to work with because the only way to interact with the shape is via its edge. Multiple fills & strokes on an object will also have unexpected behaviors; usually dropping all but the topmost stroke.
Pasting: You cannot Paste in Front (Ctrl+F or ⌘+F) or Paste in Back (Ctrl+B or ⌘+B) while in Draw Inside mode unless you have directly selected an element inside your shape in which to paste in front or behind. If there is nothing selected, it will cause you to exit the mode. In plain English this means you can’t art a bunch of stuff on top of your shape, switch to Draw Inside, and expect to paste it in exactly the same place without first direct-selecting something inside the shape. Pasting normally still works fine.

Wrapping Up
If you’re the kind of illustrator who loves to get all the basic shapes roughed in and deal with the texturing later (like me 😉), this is right up your alley — it’s fast, avoids excessive shapes and opacity masks, and is easy to adjust. For more masking be sure to check out my other masking in Illustrator tutorial.
• Paper thickness: 10.3 mil
• Paper weight: 5.57 oz/y² (189 g/m²)
• Giclée printing quality
• Opacity: 94%
• ISO brightness: 104%


• 100% cotton
• Fabric weight: 6.0 oz/y² (203.4 g/m²)
• Pre-shrunk
• Boxy fit
• Shoulder-to-shoulder taping
• Seamless double-needle 7⁄8″ (2.2 cm) collar
• Double-needle stitched sleeves and bottom hem
• Quarter-turned to avoid crease down the middle
• Blank product sourced from Honduras, Dominican Republic, El Salvador, Nicaragua, Haiti, or Mexico


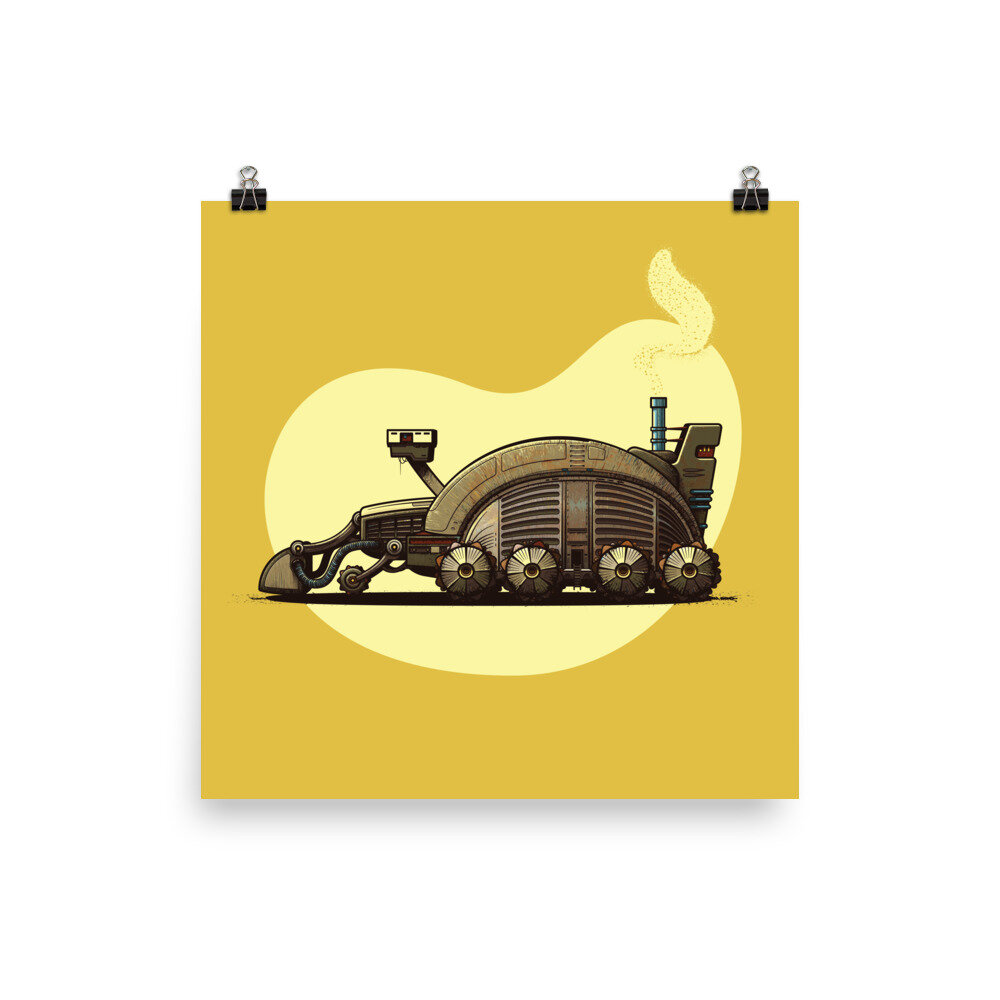

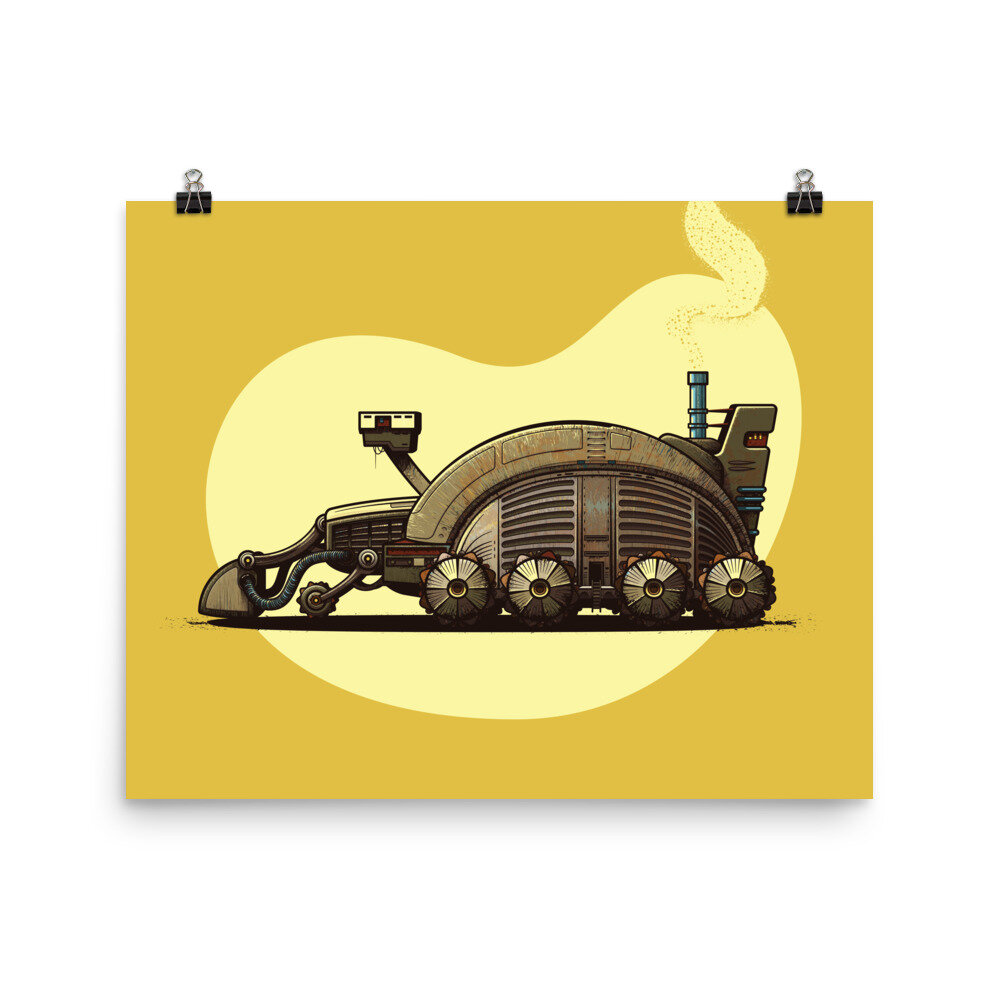

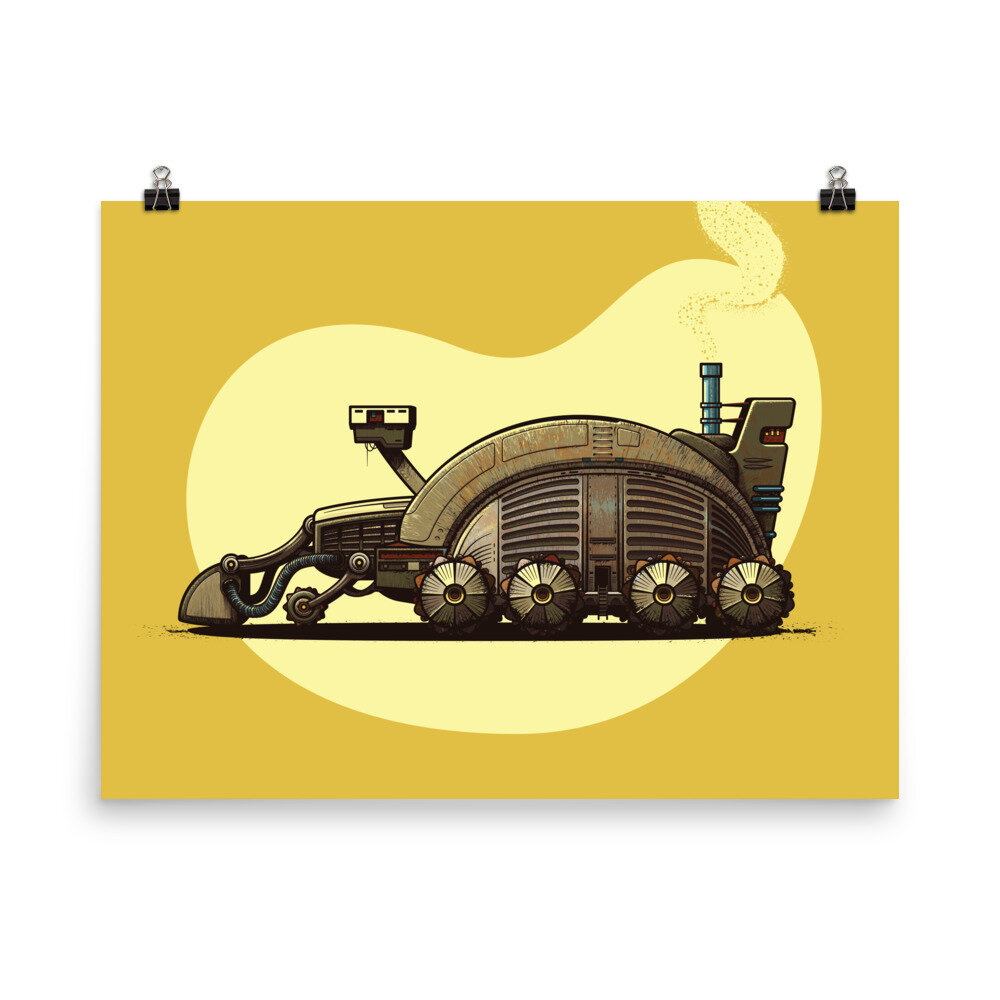
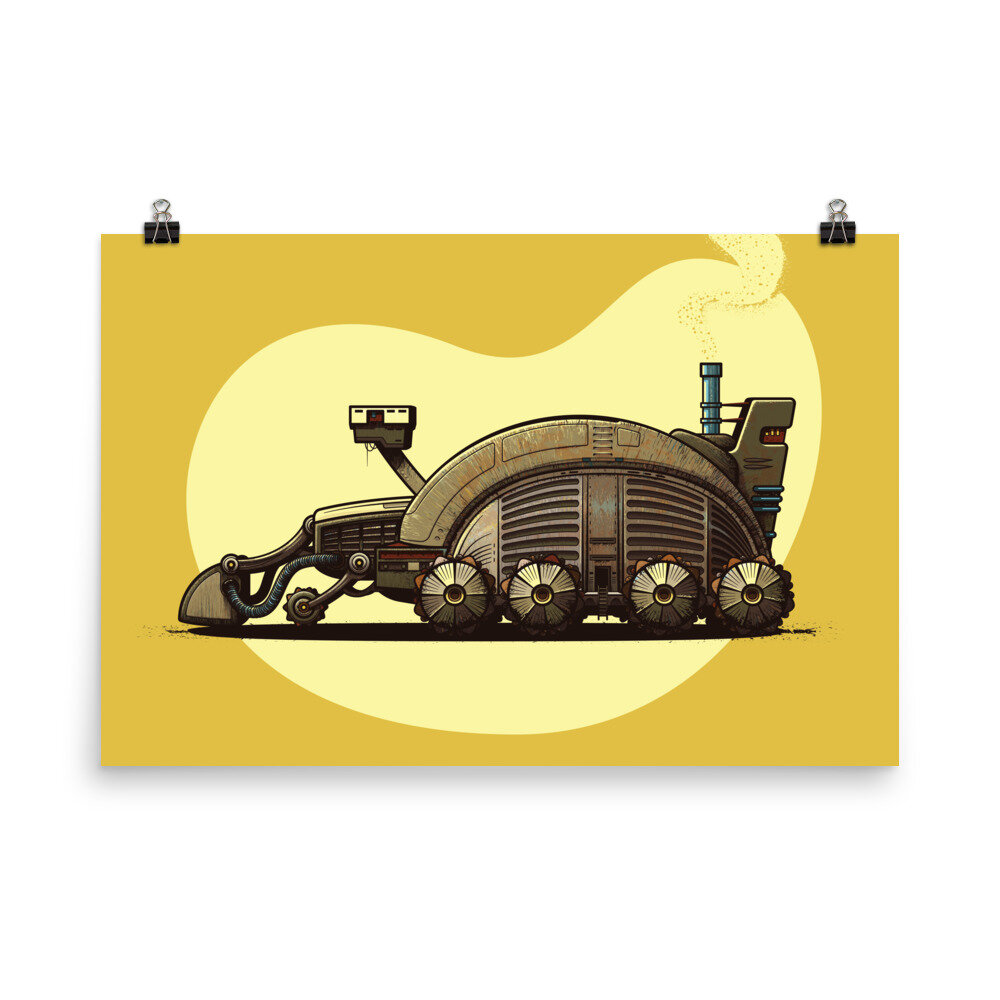
The spice harvester is a giant mobile mining facility designed to extract the universe’s most precious mineral – the spice melange – from the desert planet of Arakkis. Printed on museum-quality paper.
• Paper thickness: 10.3 mil
• Paper weight: 5.57 oz/y² (189 g/m²)
• Giclée printing quality
• Opacity: 94%
• ISO brightness: 104%